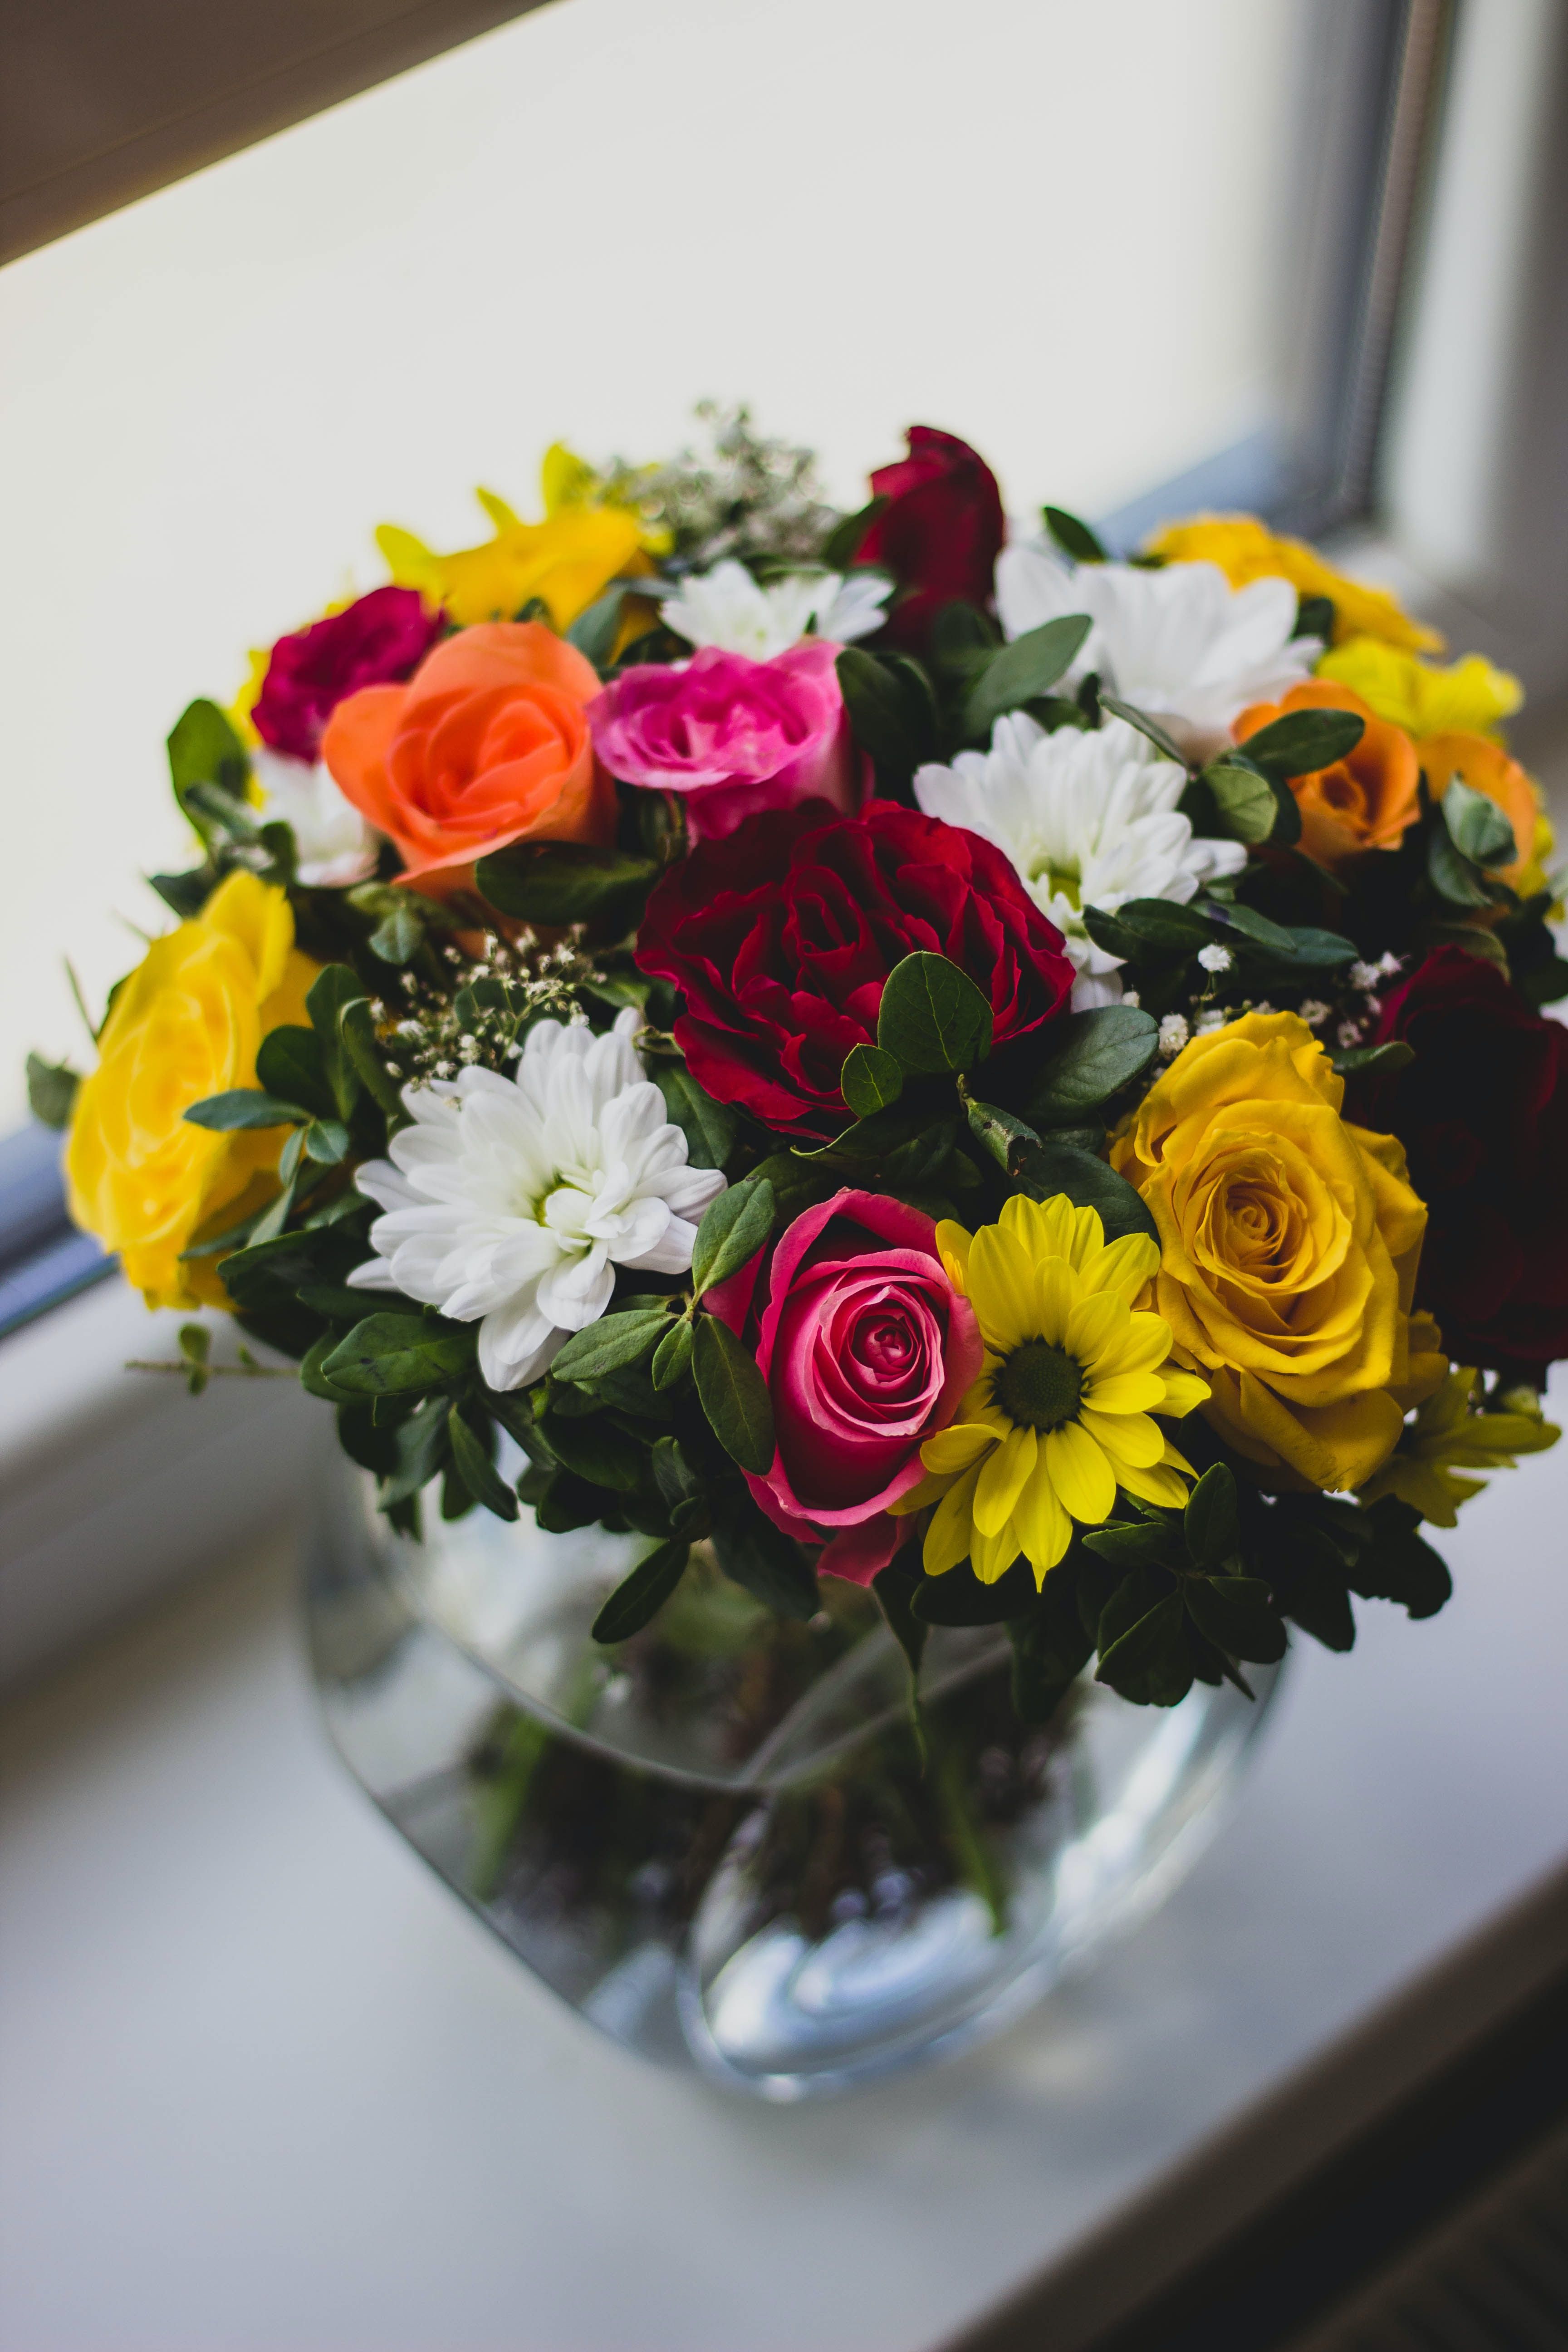
Interested in floristry? Follow our step-by-step guide on how to plan and create beautiful flower arrangements and ensure flowers maintain their colour and freshness to see if Floristry is the right course for you.
Step One: Decide on a flower arrangement design.
First things first, you need to have an idea on what your final product will look like. To make this decision consider the colour scheme, what colours do you think will work well together? If you’re stuck for ideas, try looking on sites such as Pinterest for inspiration.

Step Two: Cut and prepare your flowers.
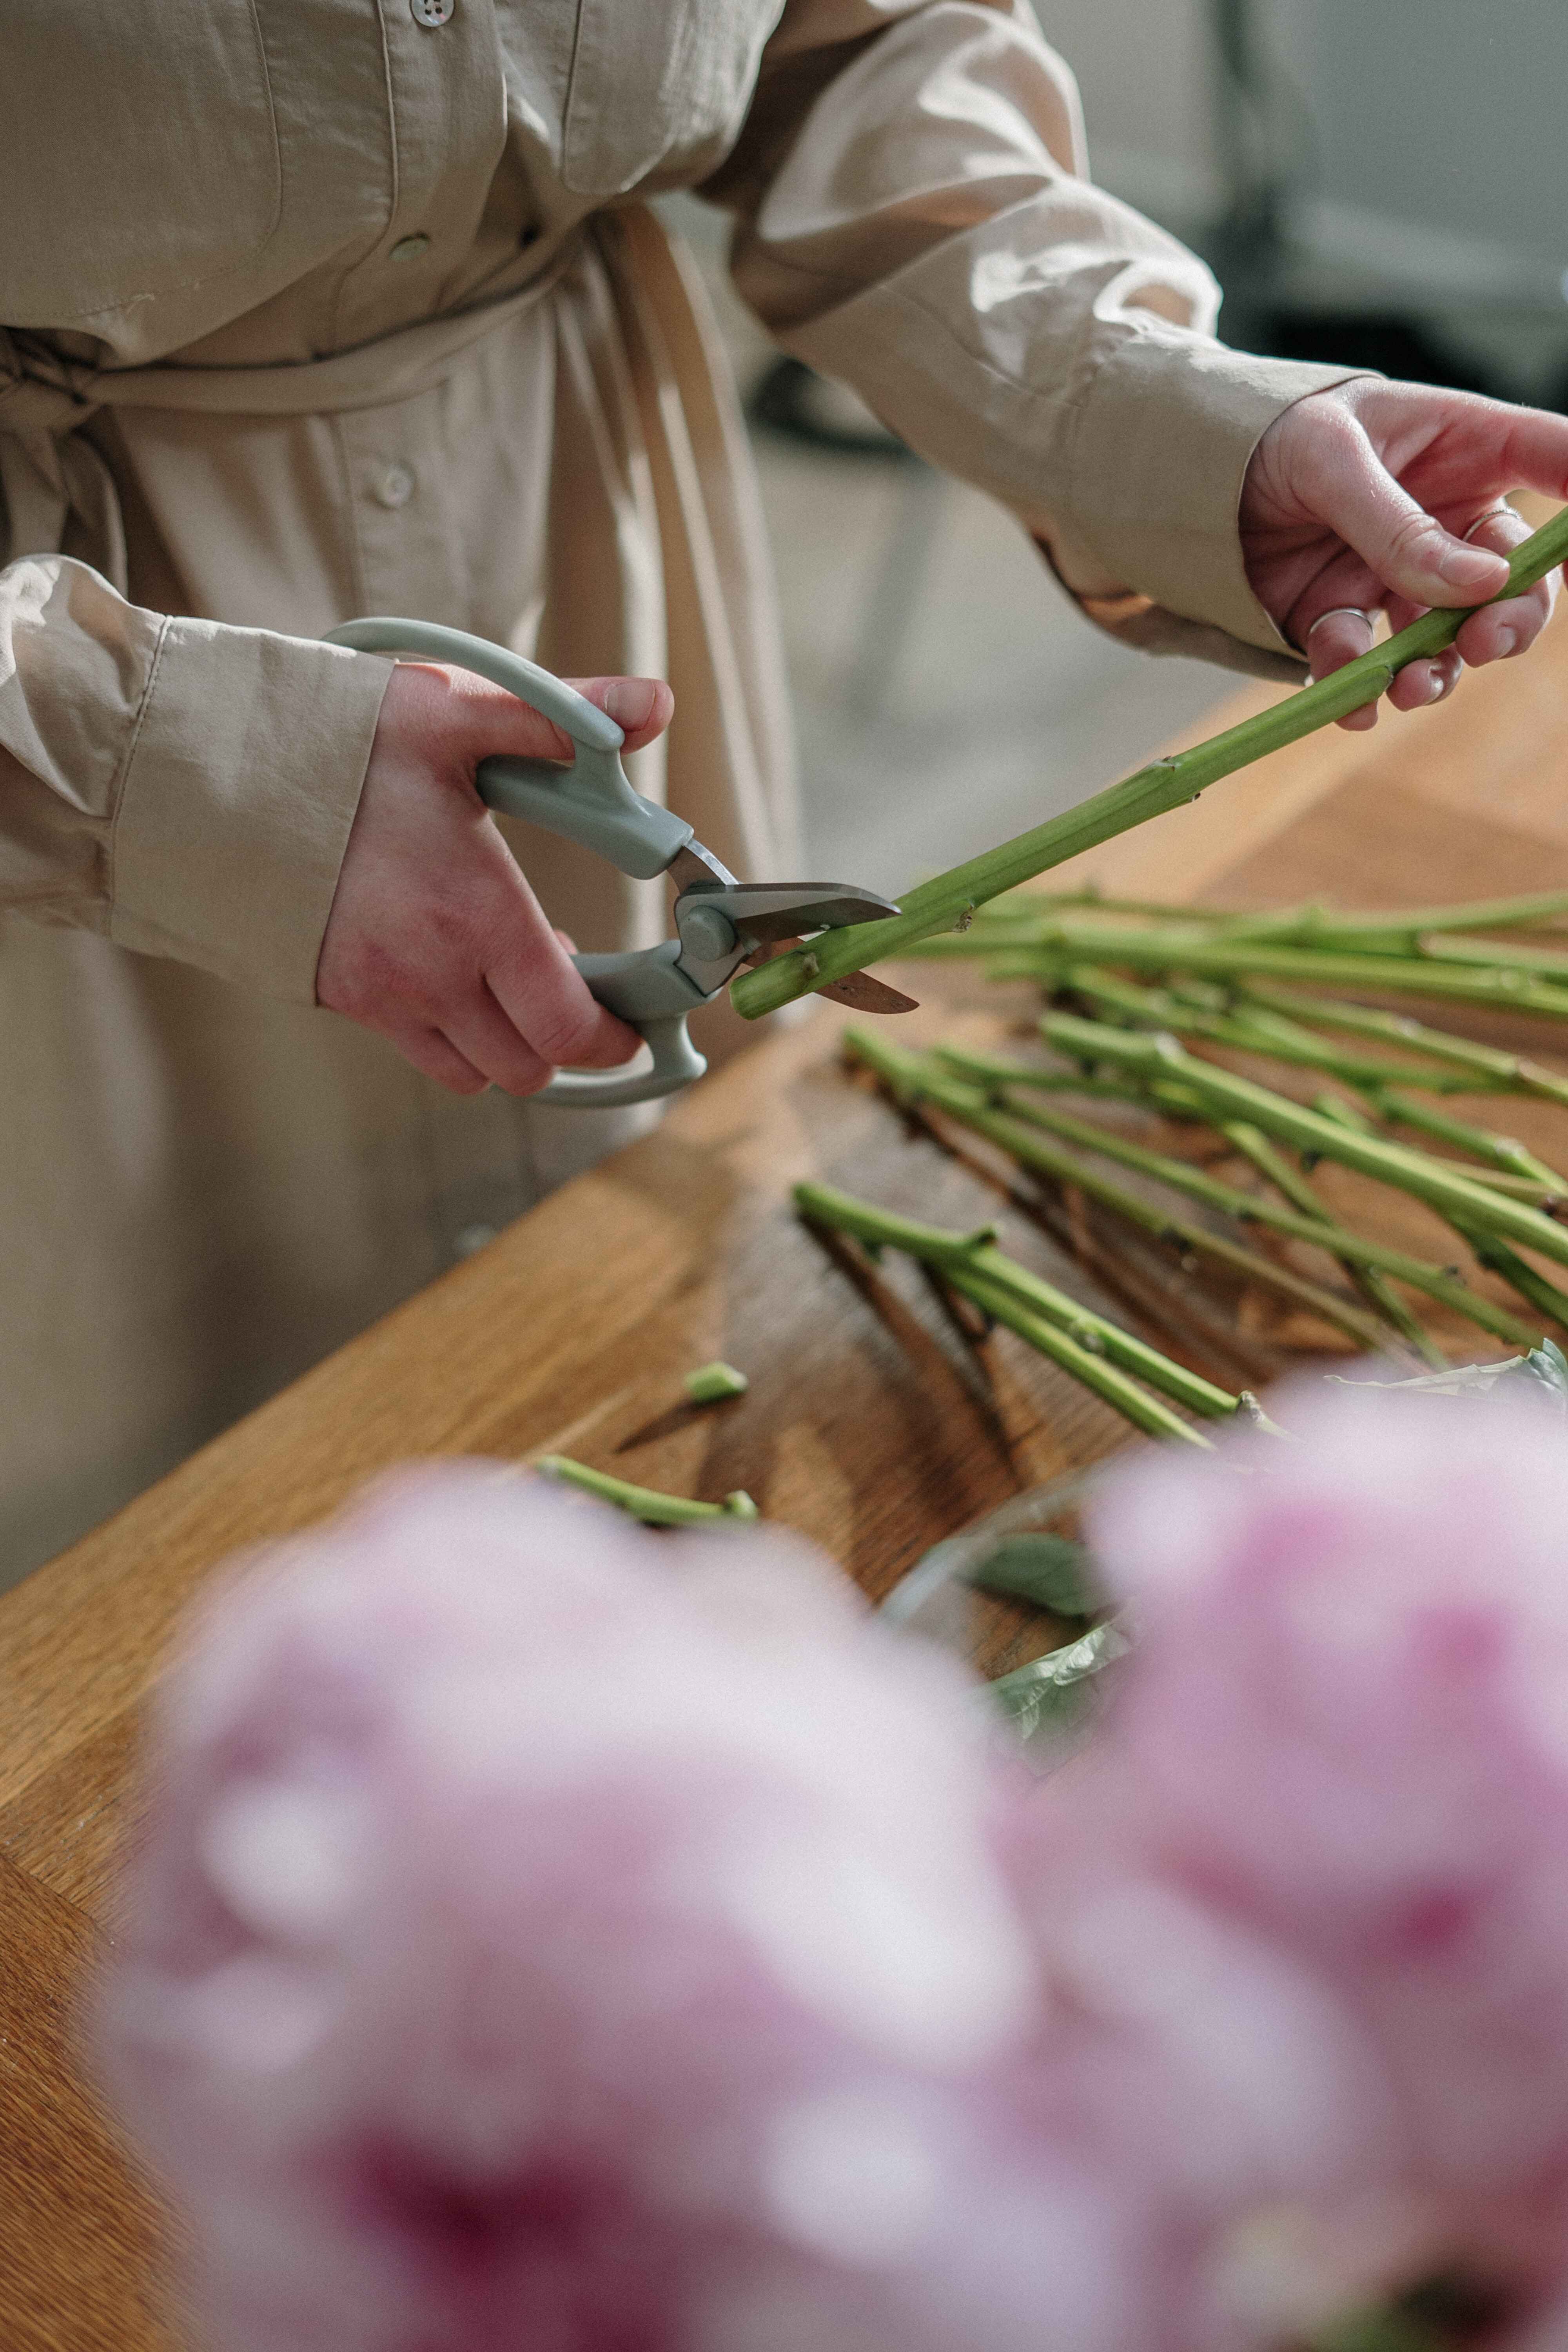
First, remove extra leaves and damaged petals from stems. If there are unwanted buds on the same stem as a full flower, cut those off as well. Once the stems are cleaned up, make a fresh diagonal cut to the bottom of the stems. Put the trimmed stems into a vase or bucket of water with cut flower food. This process helps keep your flowers fresh and colourful for longer!

Step Three: Choose a vase.
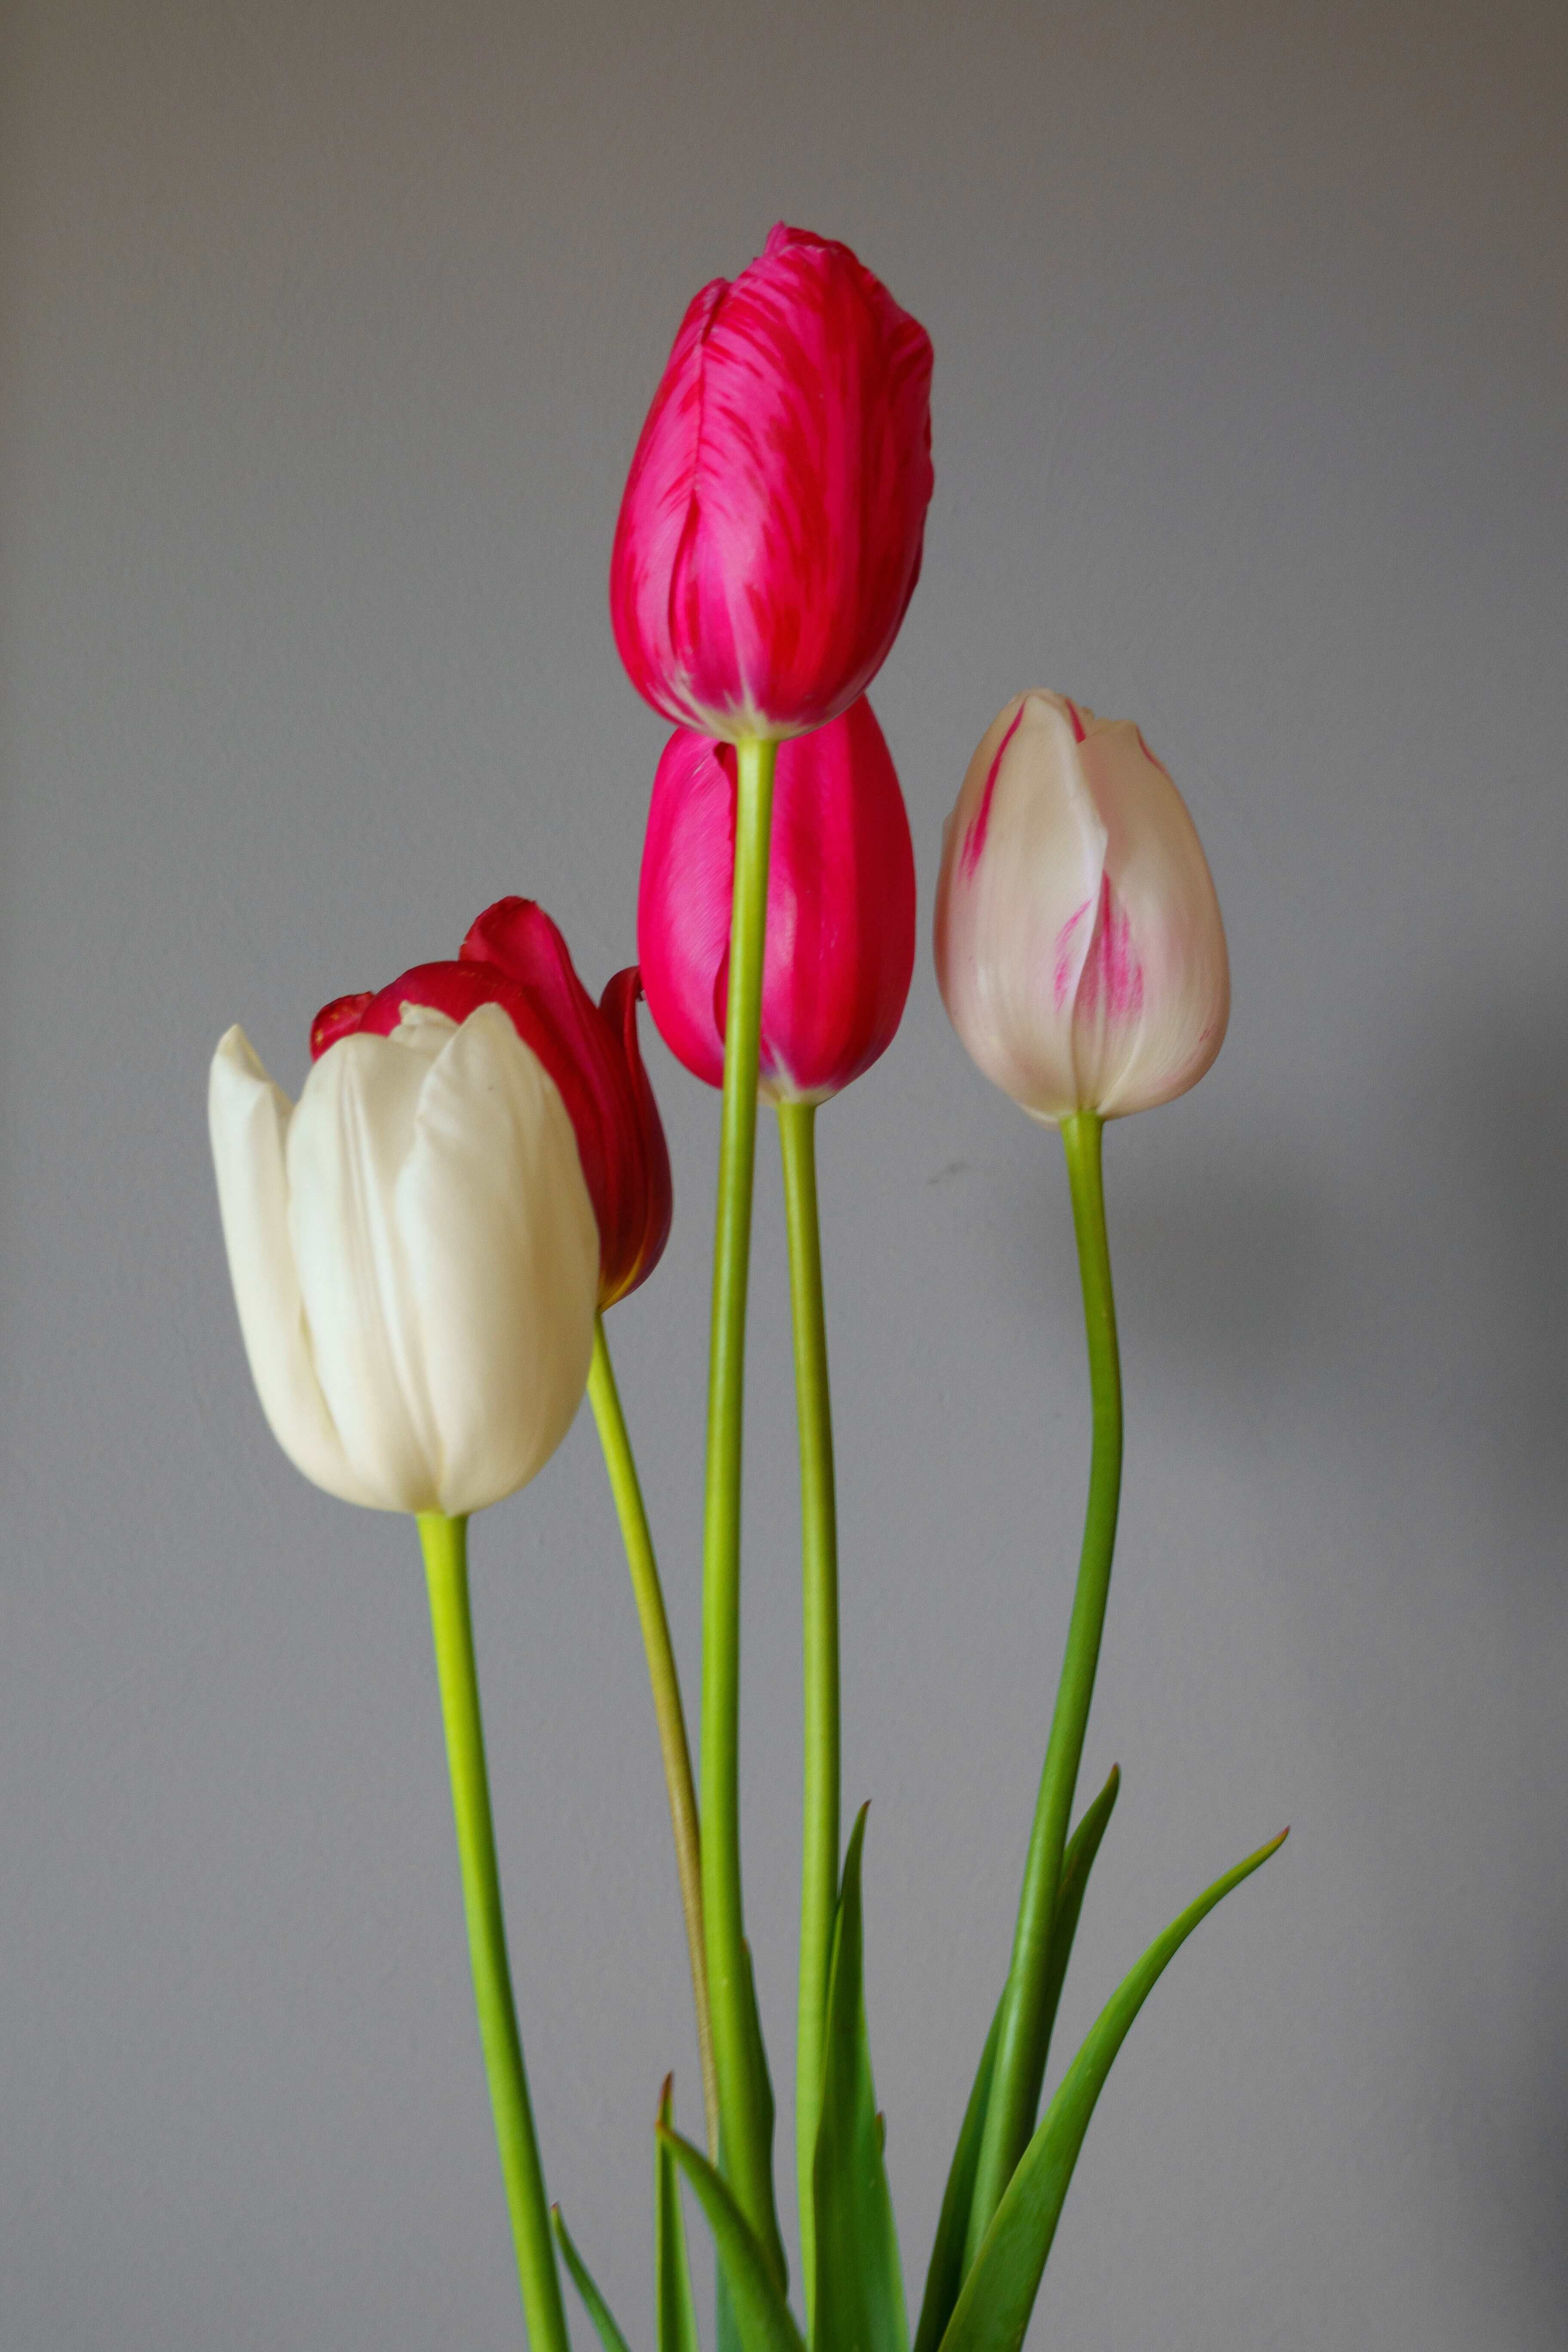
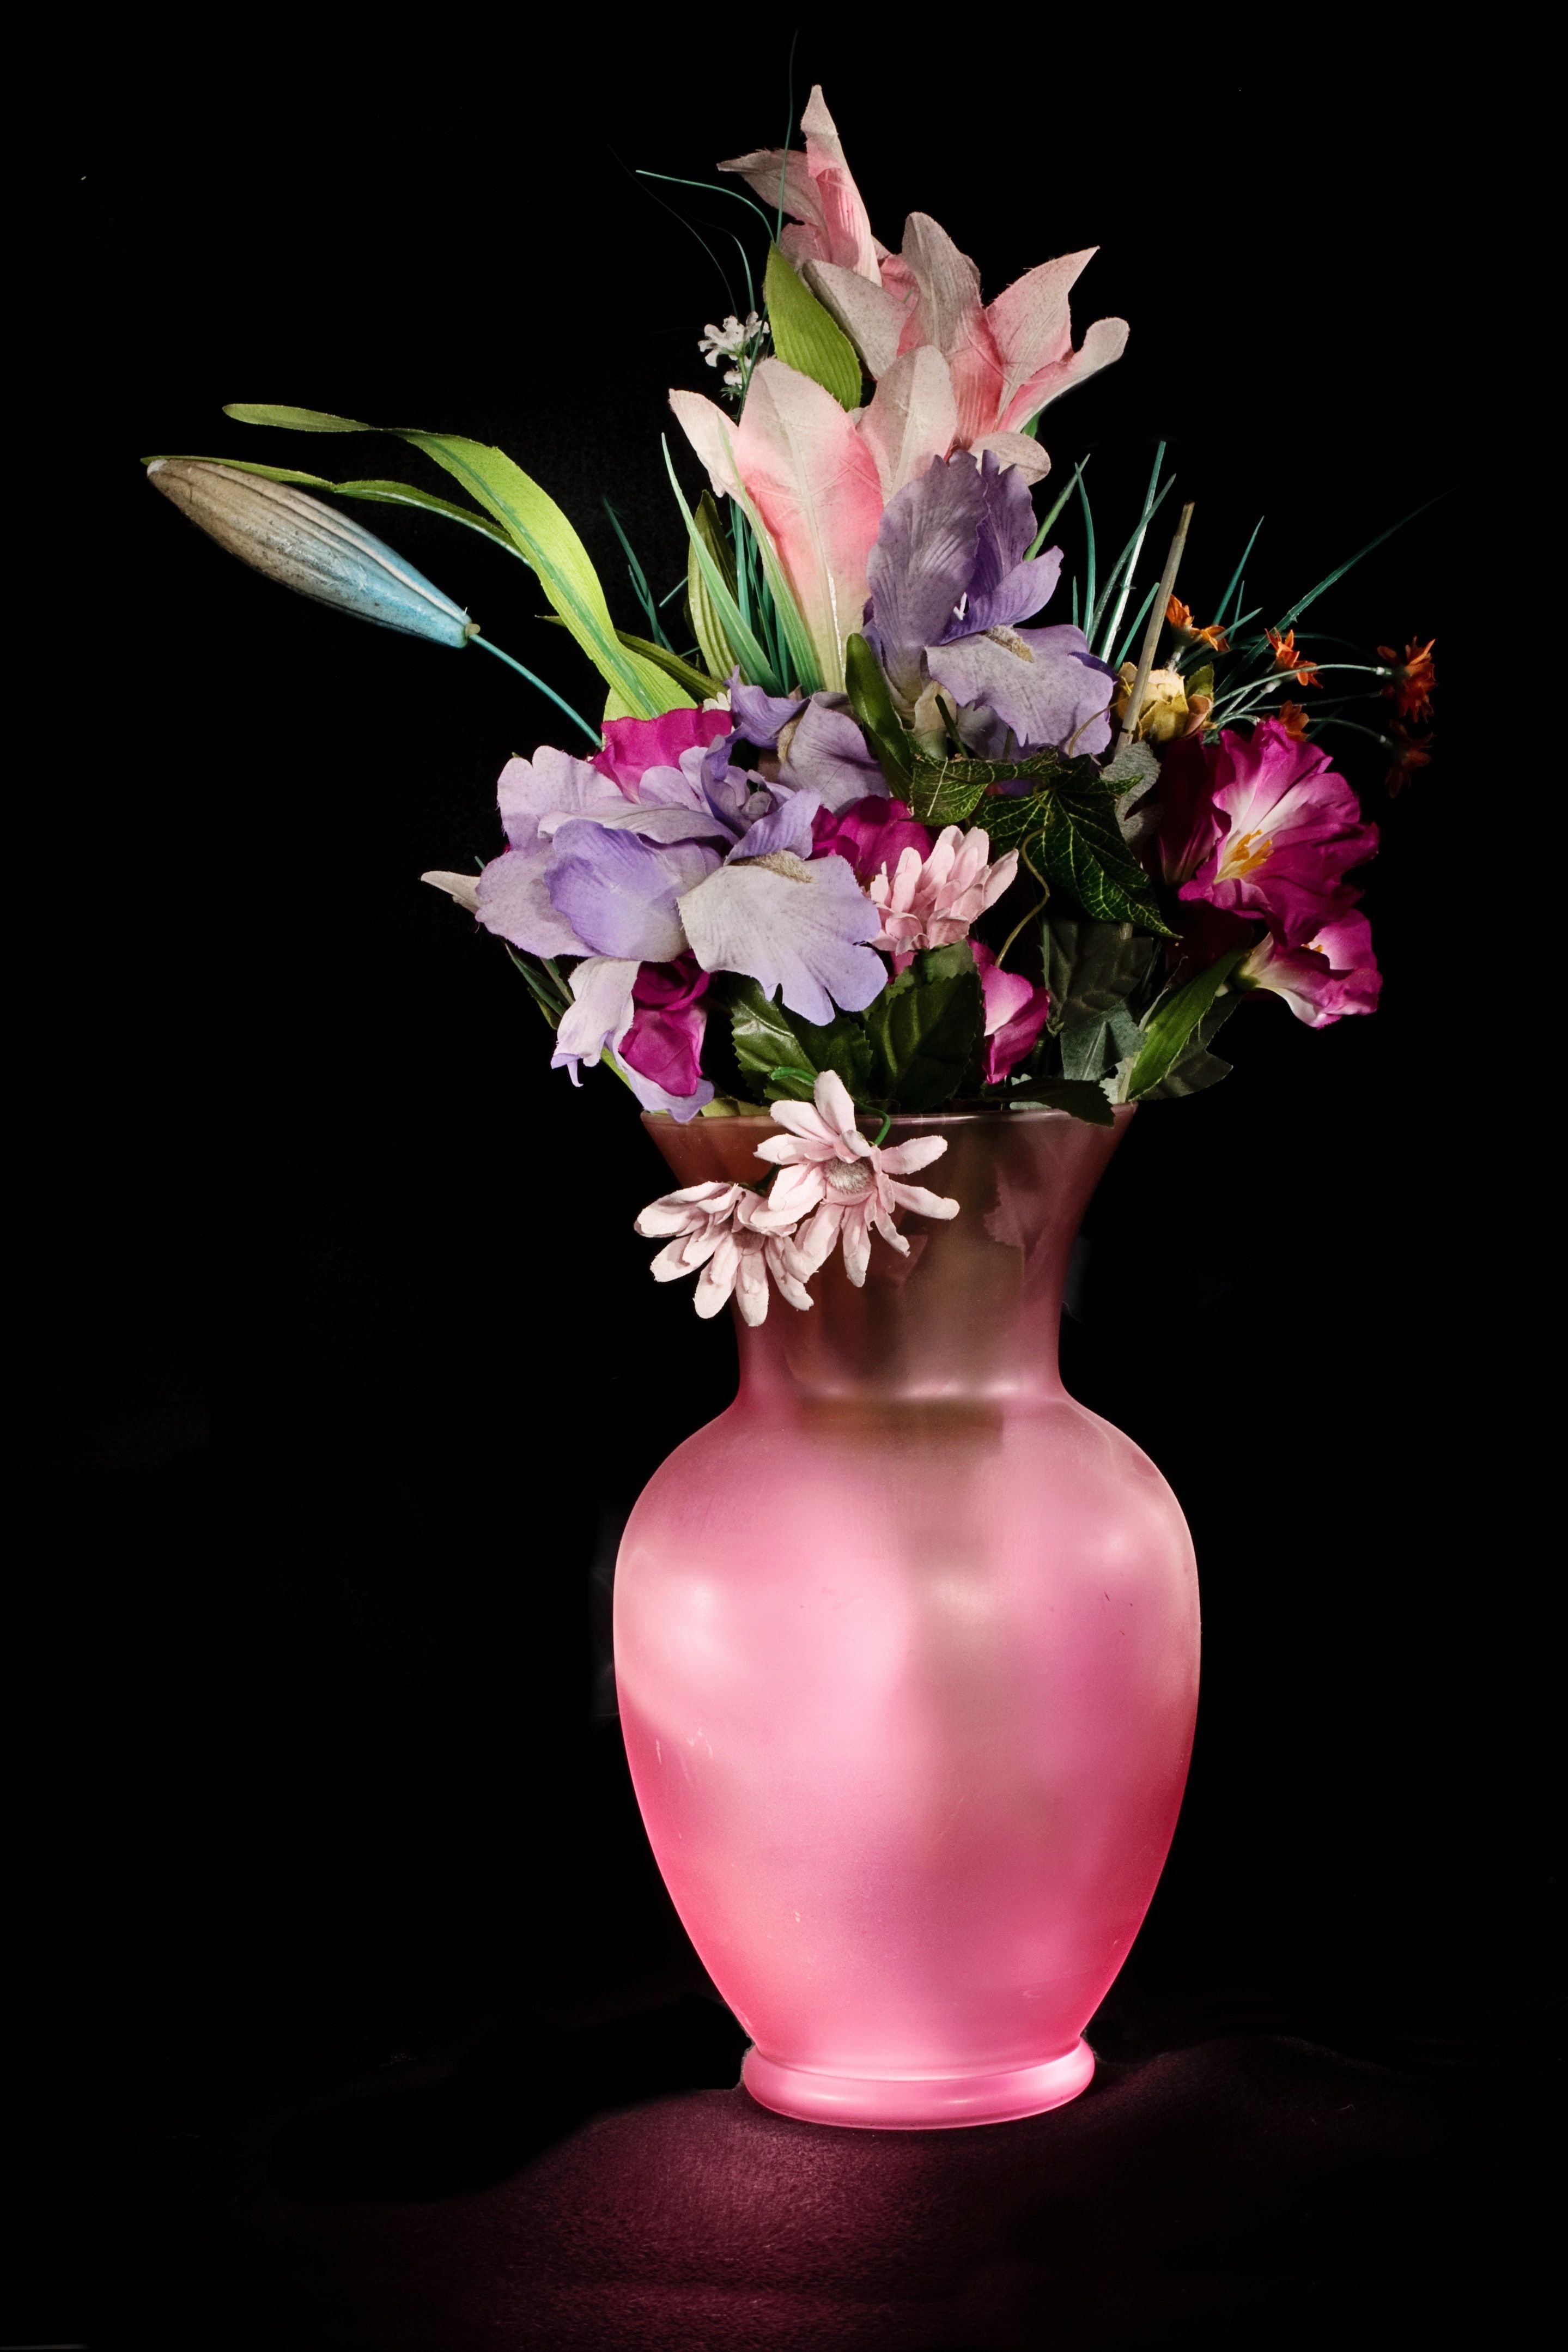
When selecting a vase for your arrangement, consider the type of flowers you're using. For example, tulips typically require the support of a straight-sided vase. Also consider you colour scheme- you don’t want your flowers to clash with your vase.

Step 4: Prepare your flower vase.
If the flowers don't have a sturdy foundation, they won't stay in place and your arrangement will end up falling apart. To make sure flowers stay in place, create a grid of floral tape over the mouth of the vase. Stick the stems through the holes of the grid to keep them in place.
Step 5: Create a base with greenery.
The best way to arrange flowers is to start with greenery as a base. Use the stems of the greenery to create an inverted triangular shape. This guarantees your arrangement will have both a horizontal and a vertical presence. Also, be sure to recut stems before adding them to the vase.
Step 6: Add focal flowers.
Focal flowers are usually the largest blooms or those with an unusual colour or texture. Make sure to add in odd numbers for a more natural look. Don't place the focal flowers so they are sticking straight out on the sides: they will look droopy and heavy, rather than strong and perky.

Step 7: Add filler flowers.
Add smaller flowers and textural elements in the arrangement to fill around the focal flowers. Again, don't place all of the supporting flowers straight up or to the sides. Combine smaller flowers in groups of three or five to create clustering, similar to what happens in nature.
Step 8: Finish your flower arrangement.
Finish the design with floaters or delicate blooms. Put these in last so they don't get squished or buried by heavier blooms. Before displaying, give your finished flower arrangement a light spritz of water to mimic the look of fresh dew.

Did you enjoy creating your own flower arrangement? Maybe our floristry courses are for you. Find out more here.
